
I’ve been working on a card game lately, and I’ve learned a few things that might be useful sharing. We’ll figure out how to design some prototype cards and get a reasonable way towards actually getting it published via The Game Crafter.
What we’ll need
- LaTeX, with the following packages:
- pdflatex
- TikZ
- preview
- ImageMagick
- your favourite text editor (I recommend Emacs or vim)
- A basic sketch of your card design
On Windows you can use MikTeX and it’ll pick up packages automatically. A decent Linux distribution will have all of these tools available.
Basic design
Okay to start off, we need to have an idea of what we want to make. My game uses the popular layout used by games like Magic the Gathering - poker card-sized cards with a title, some data around the edges and room for text in the lower third. Here’s a sketch:
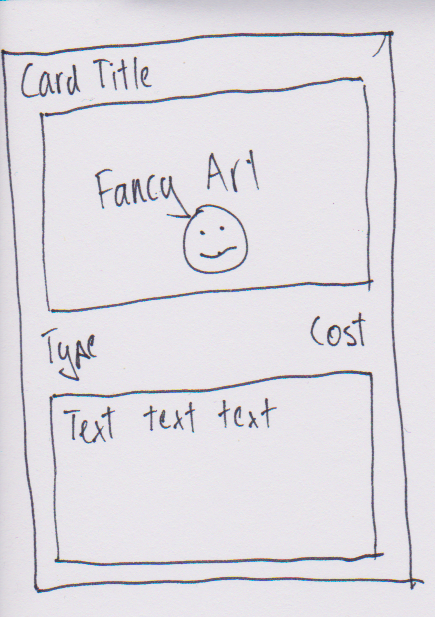
Probably the worst drawing of all time, but it gives you something to work with and get the ideas down.
The important points are the size (poker card - 2.5 inch by 3.5 inch) and the general space requirements. If I had more text or art, then I’d tweak the size of elements.
Elements
So in my game prototype I have a few different decks that I need to differentiate. All have the card title and the text but might not use the “cost” or “type” areas. I’ll have exactly zero art because I’m just making a prototype at the moment.
I also want to be able to make a lot of cards simply, so I don’t want the setup to be too custom to each card.
Content
For this post I’ll ignore the process of actually creating content as this is particular to your game. My approach was to open up org-mode in Emacs and write a little design document. This allowed me to simplify and solidify my design ideas. Adding new cards basically meant adding items to a list.
The way we’ll set up the prototyping workflow, you can copy-paste that list and rewrite it into card format with a regular expression.
First steps
We’re going to be using LaTeX. It’s free, very good and allows us to easily create very many cards programmatically. If you are using something like InDesign, you may have to hand-craft all your cards. InDesign is very powerful but we are focussing on cheap and fast prototyping.
I’m going to assume some basic LaTeX knowledge.
So we’ll create the skeleton of the file that will hold all our cards.
\documentclass{scrartcl}

\usepackage{xcolor}
\usepackage{tikz}
\usetikzlibrary{positioning}

\usepackage{pifont}
\usepackage{graphicx}
\usepackage{etoolbox}
\usepackage[utf8]{inputenc}

\usepackage{multicol}

\usepackage{nopageno}

\begin{document}

\thispagestyle{empty}

\end{document}
The package xcolor gives us access to colours and colour-manipulation. tikz will do most of our heavy-lifting - it arranges elements on the card and draws everything nicely.
tikz has extra libraries that you can bring in. We’ve used the positioning library to make out layouts super-easy to use.
pifont gives you access to a few fonts, but most importantly Wingding-style things that you might want to include in your design. The documentation is here.
graphicx allows you to do some graphics things. Importantly, this lets you bring in artwork from other files.
etoolbox gives us some programmatic structures that we’ll be using to make optional elements.
inputenc provides the ability to use your own text encoding and have it work nicely with LaTeX. I always try to use UTF8, hence the option above.
multicol will be used to put cards into a card sheet. We can have an array of cards so it’s easier for you to examine them as a whole, as well as print them out yourself for guillotining.
nopageno is a simple way to take out page numbering because we won’t need it.
We set \thispagestyle{empty} so we don’t have to deal with any special formatting for the first page or anything like that.
Creating our card layout
tikz is a tricky beast - it can do some amazing layouts and create nice images with minimal fuss. But it can take some time to learn. The documentation is good, almost too good to a fault. The manual is hundreds of pages long, but has some interesting tutorials within. We’ll use tikz fairly simply.
Okay so to create a card, we need to create a picture. We start with:
\begin{tikzpicture}

\end{tikzpicture}
This creates an empty picture with nothing in it.
Card outline
Let’s draw the card outline:
\begin{tikzpicture}

\draw[rounded corners=4mm] (0,0) rectangle (2.5in - 2mm, 3.5in - mm);

\end{tikzpicture}
What’s this mean? Reading left to right:
- Draw a thing
- It has options, namely draw whatever it is with
rounded cornersand the radius on those are4mm. - Draw the object at
(0,0). We choose (0,0) mostly as a reference point. - Draw a
rectangle - Draw the rectangle with dimensions 2.5 inches by 3.5 inches (standard poker card size)
I’ve trimmed a few millimeters off the dimension because the border needs to be drawn and that’s roughly a millimeter wide. You have two horizontal borders (top and bottom) and two vertical (left and right), so you have twice the expected line width. Mess with this if you like. I quite like how tikz allows you to do this measurement arithmetic.
Here’s what it looks like so far:

You can get this by just running pdflatex on your file (which we’ll assume is card.tex).
Card title
That’s great. Now let’s put the card title in:
\begin{tikzpicture}

\draw[rounded corners=4mm] (0,0) rectangle (2.5in - 2mm, 3.5in -mm);

\node (title) at (1.25in - 1mm, 3.5in - 9mm) [draw=black, thick, text width = 2.5in - 12mm, minimum height = 7mm] {Card title};

\end{tikzpicture}
Again, reading through the new code chunk by chunk:
- Draw a node (aka a “thing”, which will just be a rectangle)
- Call it
titlefor later reference - Locate it at
(1.25in - 1mm, 3.5in - 9mm)- Why these measurements? So the reference point of the box is it’s center.
1.25inis the middle3.5inis the top of the card (remember that (0,0) starts in the bottom left and increases as it goes up and right)- The movement by millimeters just gives it a little bit of an explicit margin between it and the card edge.
drawthe outline inblack- Make the thickness of the outline
thick - Set the
text widthto be2.5inminus the margins - that is, the whole top. - Set the
minimum heightof the text to be at least7mm. This minimizes the wriggling of the box if you have letters of certain sizes in your text.
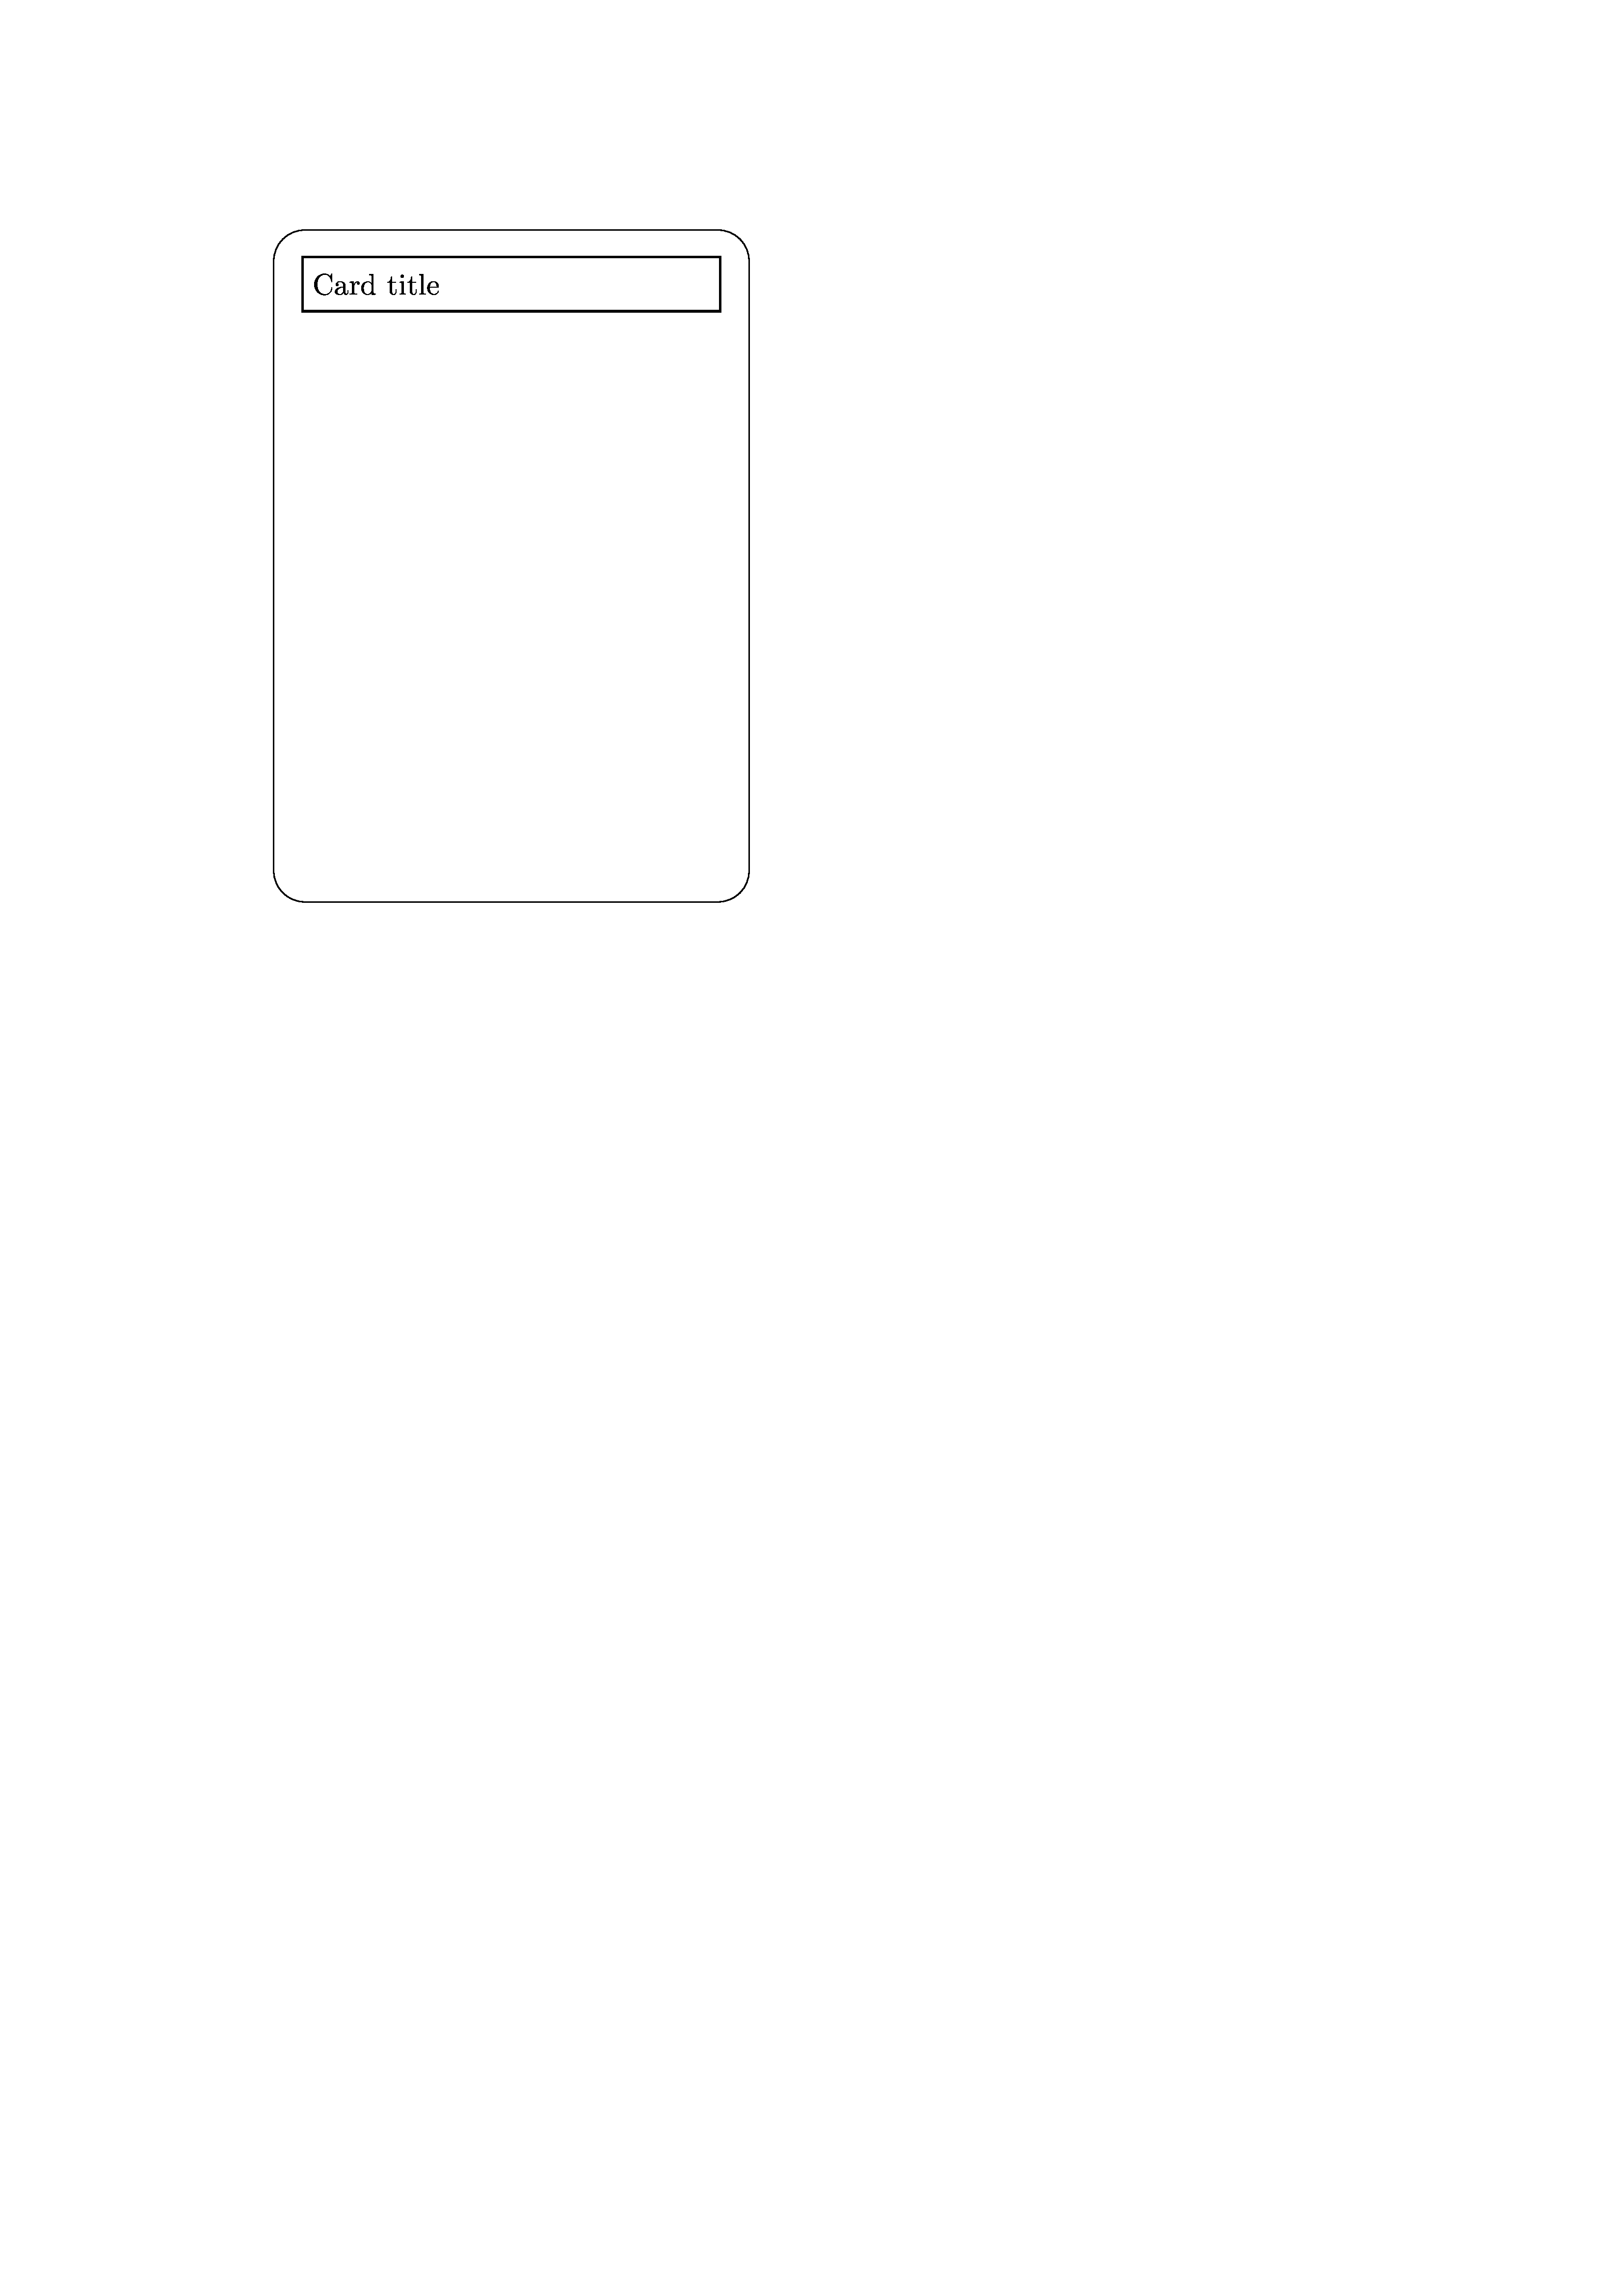
Here’s the latest iteration:
Text box
We’ll now put in the text box for the lower third.
\begin{tikzpicture}

\draw[rounded corners=4mm] (0,0) rectangle (2.5in - 2mm, 3.5in - 2mm);

\\node (title) at (1.25in - 1mm, 3.5in - 9mm) [draw=black, thick, text width = 2.5in - 12mm, minimum height = 7mm] {Card title};

\node (text) [ fill=Peach!20, draw=Peach, thick, below left = 2in + 7mm and 0mm of title, anchor = west, text width = 2.5in -12mm, text depth =1in -2mm] {Card text text text text};

\end{tikzpicture}
This is very similar to the card title, but there’s some interesting new tools:
fill=Peach!20fills in the text box background with a lovely peach colour. To make sure you can use this colour, you need to rewrite the first line of the document as\documentclass[dvipsnames]{scrartcl}.- We also
draw=Peachto get the strong outline. - We position this box
below leftoftitle,2in +7mmbelow and0mmleft of title. - We anchor our box on the
westside, so that the left border aligns vertically with the card title. - Text width is as normal, but
text depthspecifies that the box is always one inch deep, regardless of how much text there is.
Here it is:
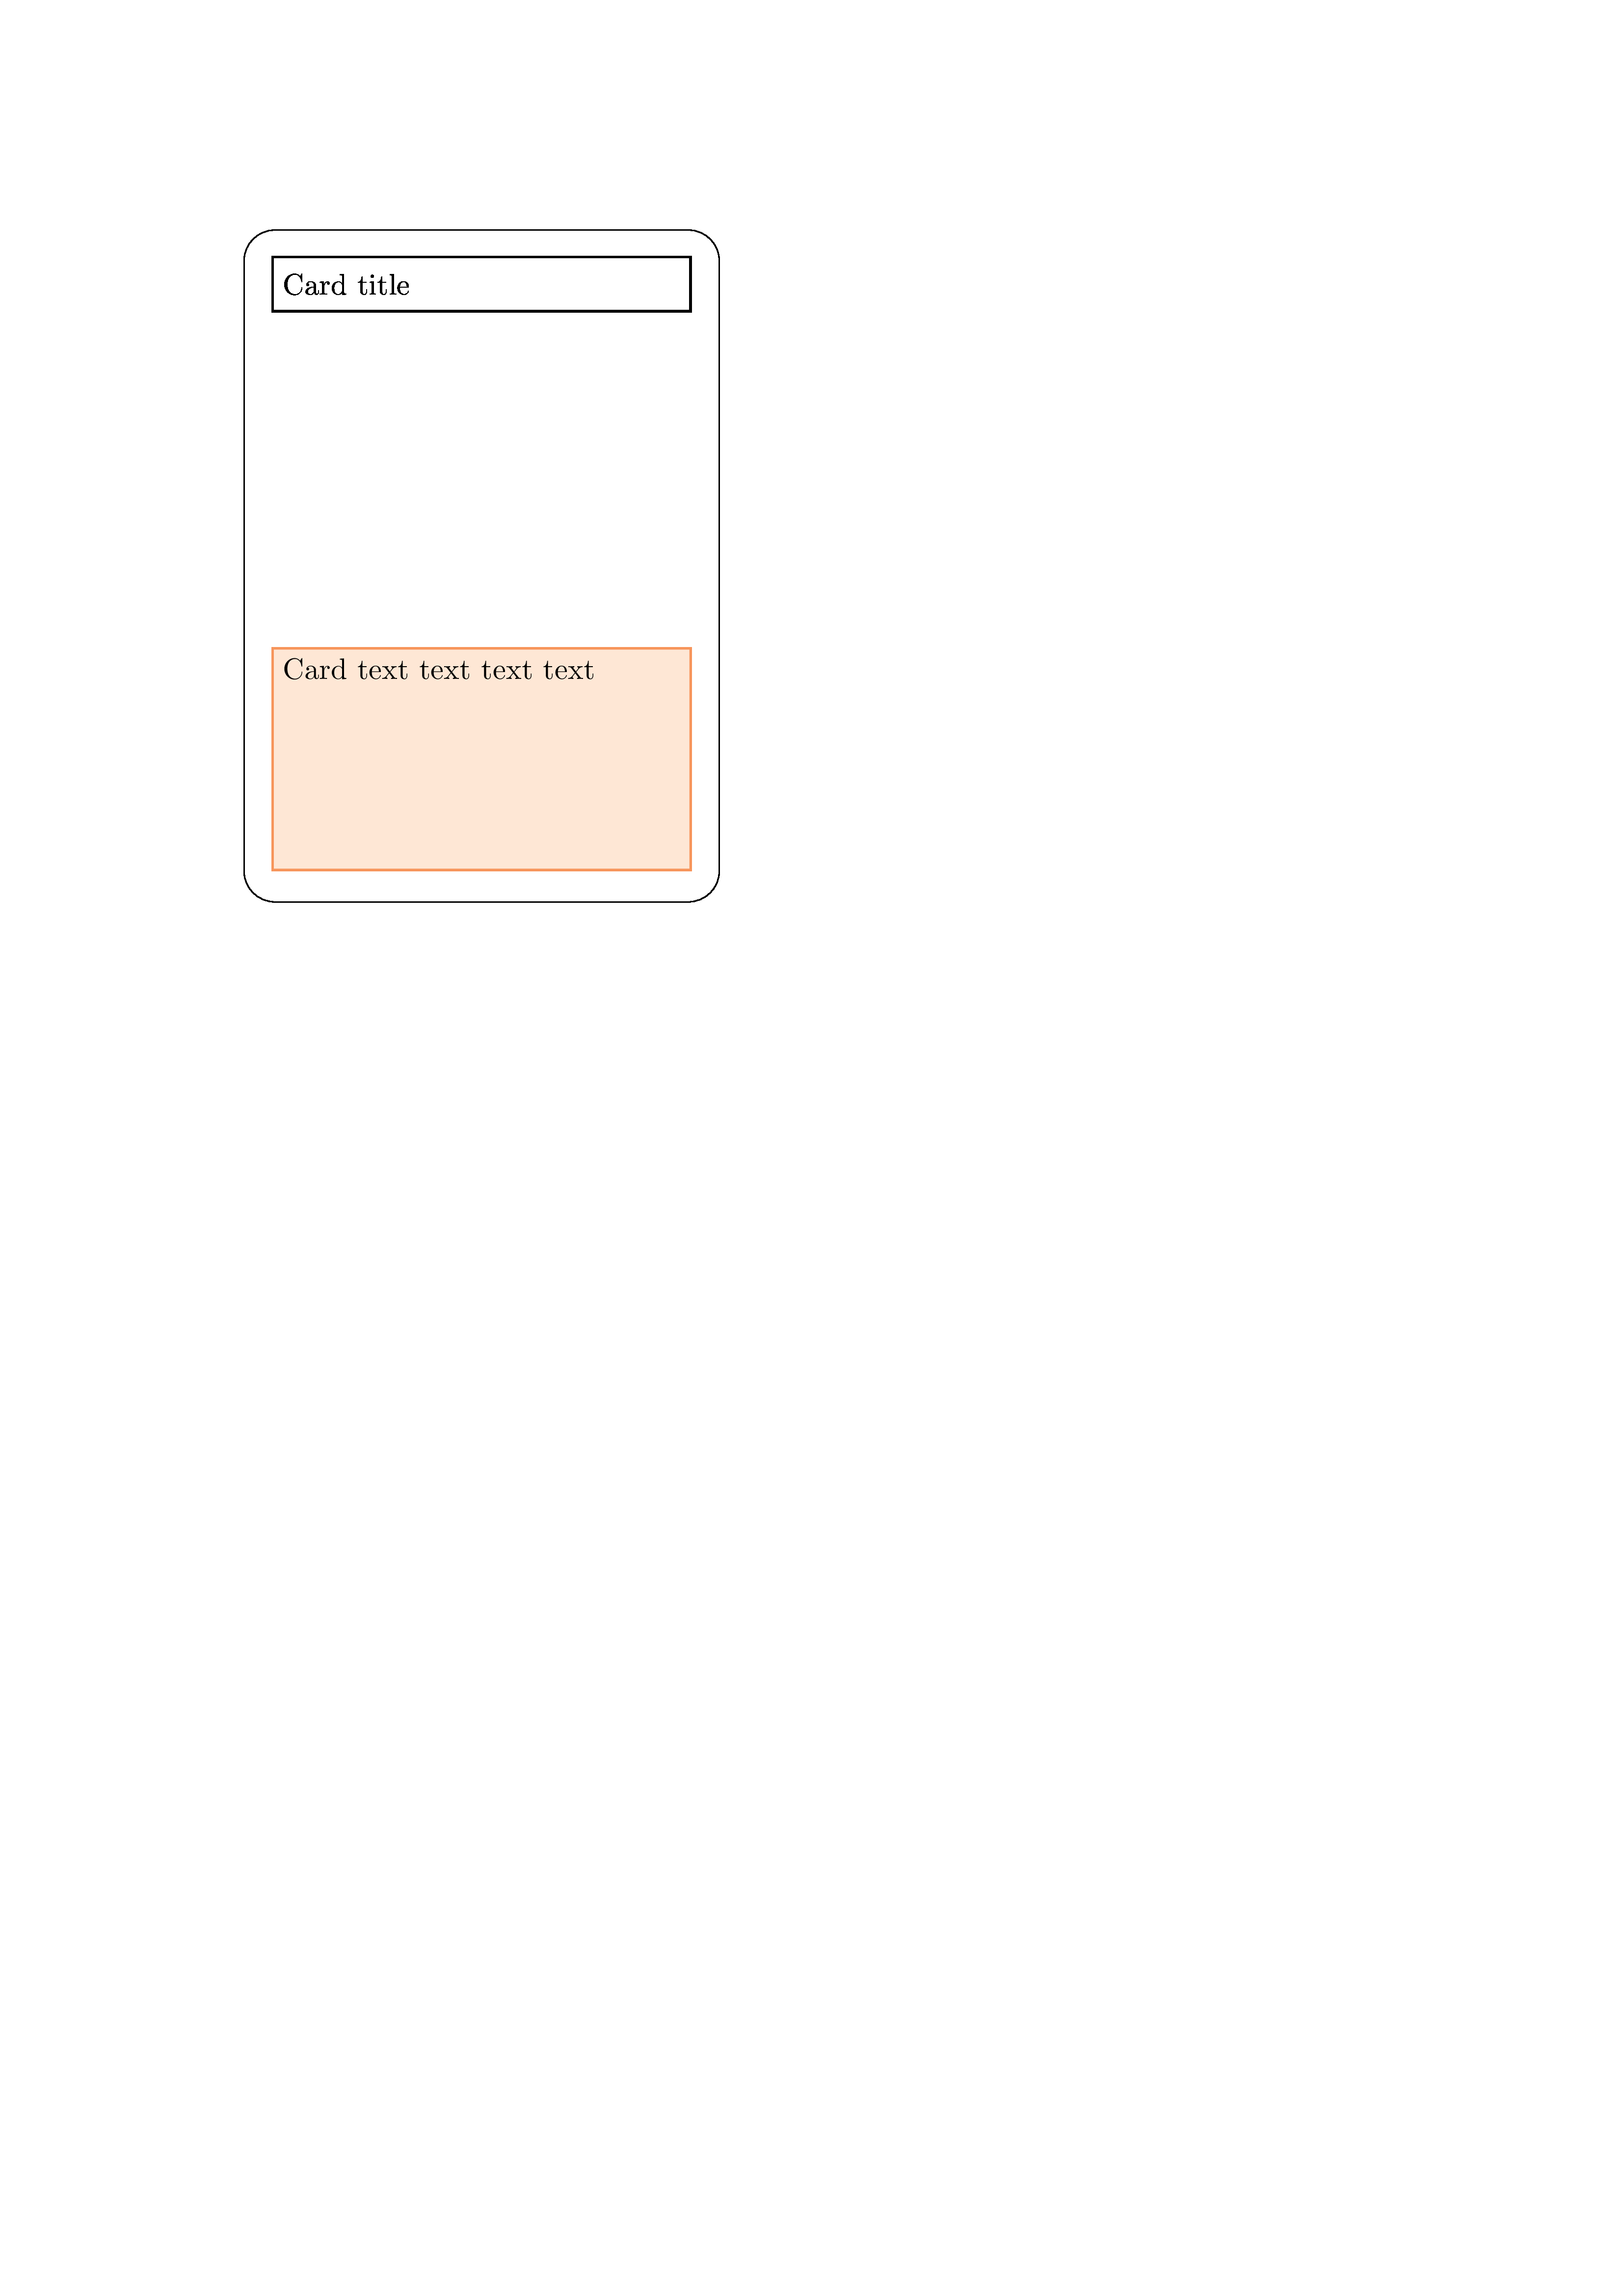
You can also customize the card title to look colourful at this point.
Other elements
We now have the basic tools to be able to make the rest of the card. Fast-forwarding:
\begin{tikzpicture}

\draw[rounded corners=4mm] (0,0) rectangle (2.5in - 2mm, 3.5in - 2mm);

\node (title) at (1.25in - 1mm, 3.5in - 9mm) [ fill=yellow!20, draw=yellow, thick, text width = 2.5in - 12mm, minimum height = 7mm] {Card title};

\node (text) [ fill=Peach!20, draw=Peach, thick, below left = 2in + 7mm and 0mm of title, anchor = west, text width = 2.5in -12mm, text depth =1in -2mm] {Card text text text text};

\node (value) [ fill=cyan!20, draw=cyan, thick, below right = 1.5in and 0mm of title, anchor = east] { 0 GP };

\node (type) [ fill=Magenta!20, draw=Magenta, thick, below left = 1.5in and 0mm of title, anchor = west] { Type };

\end{tikzpicture}
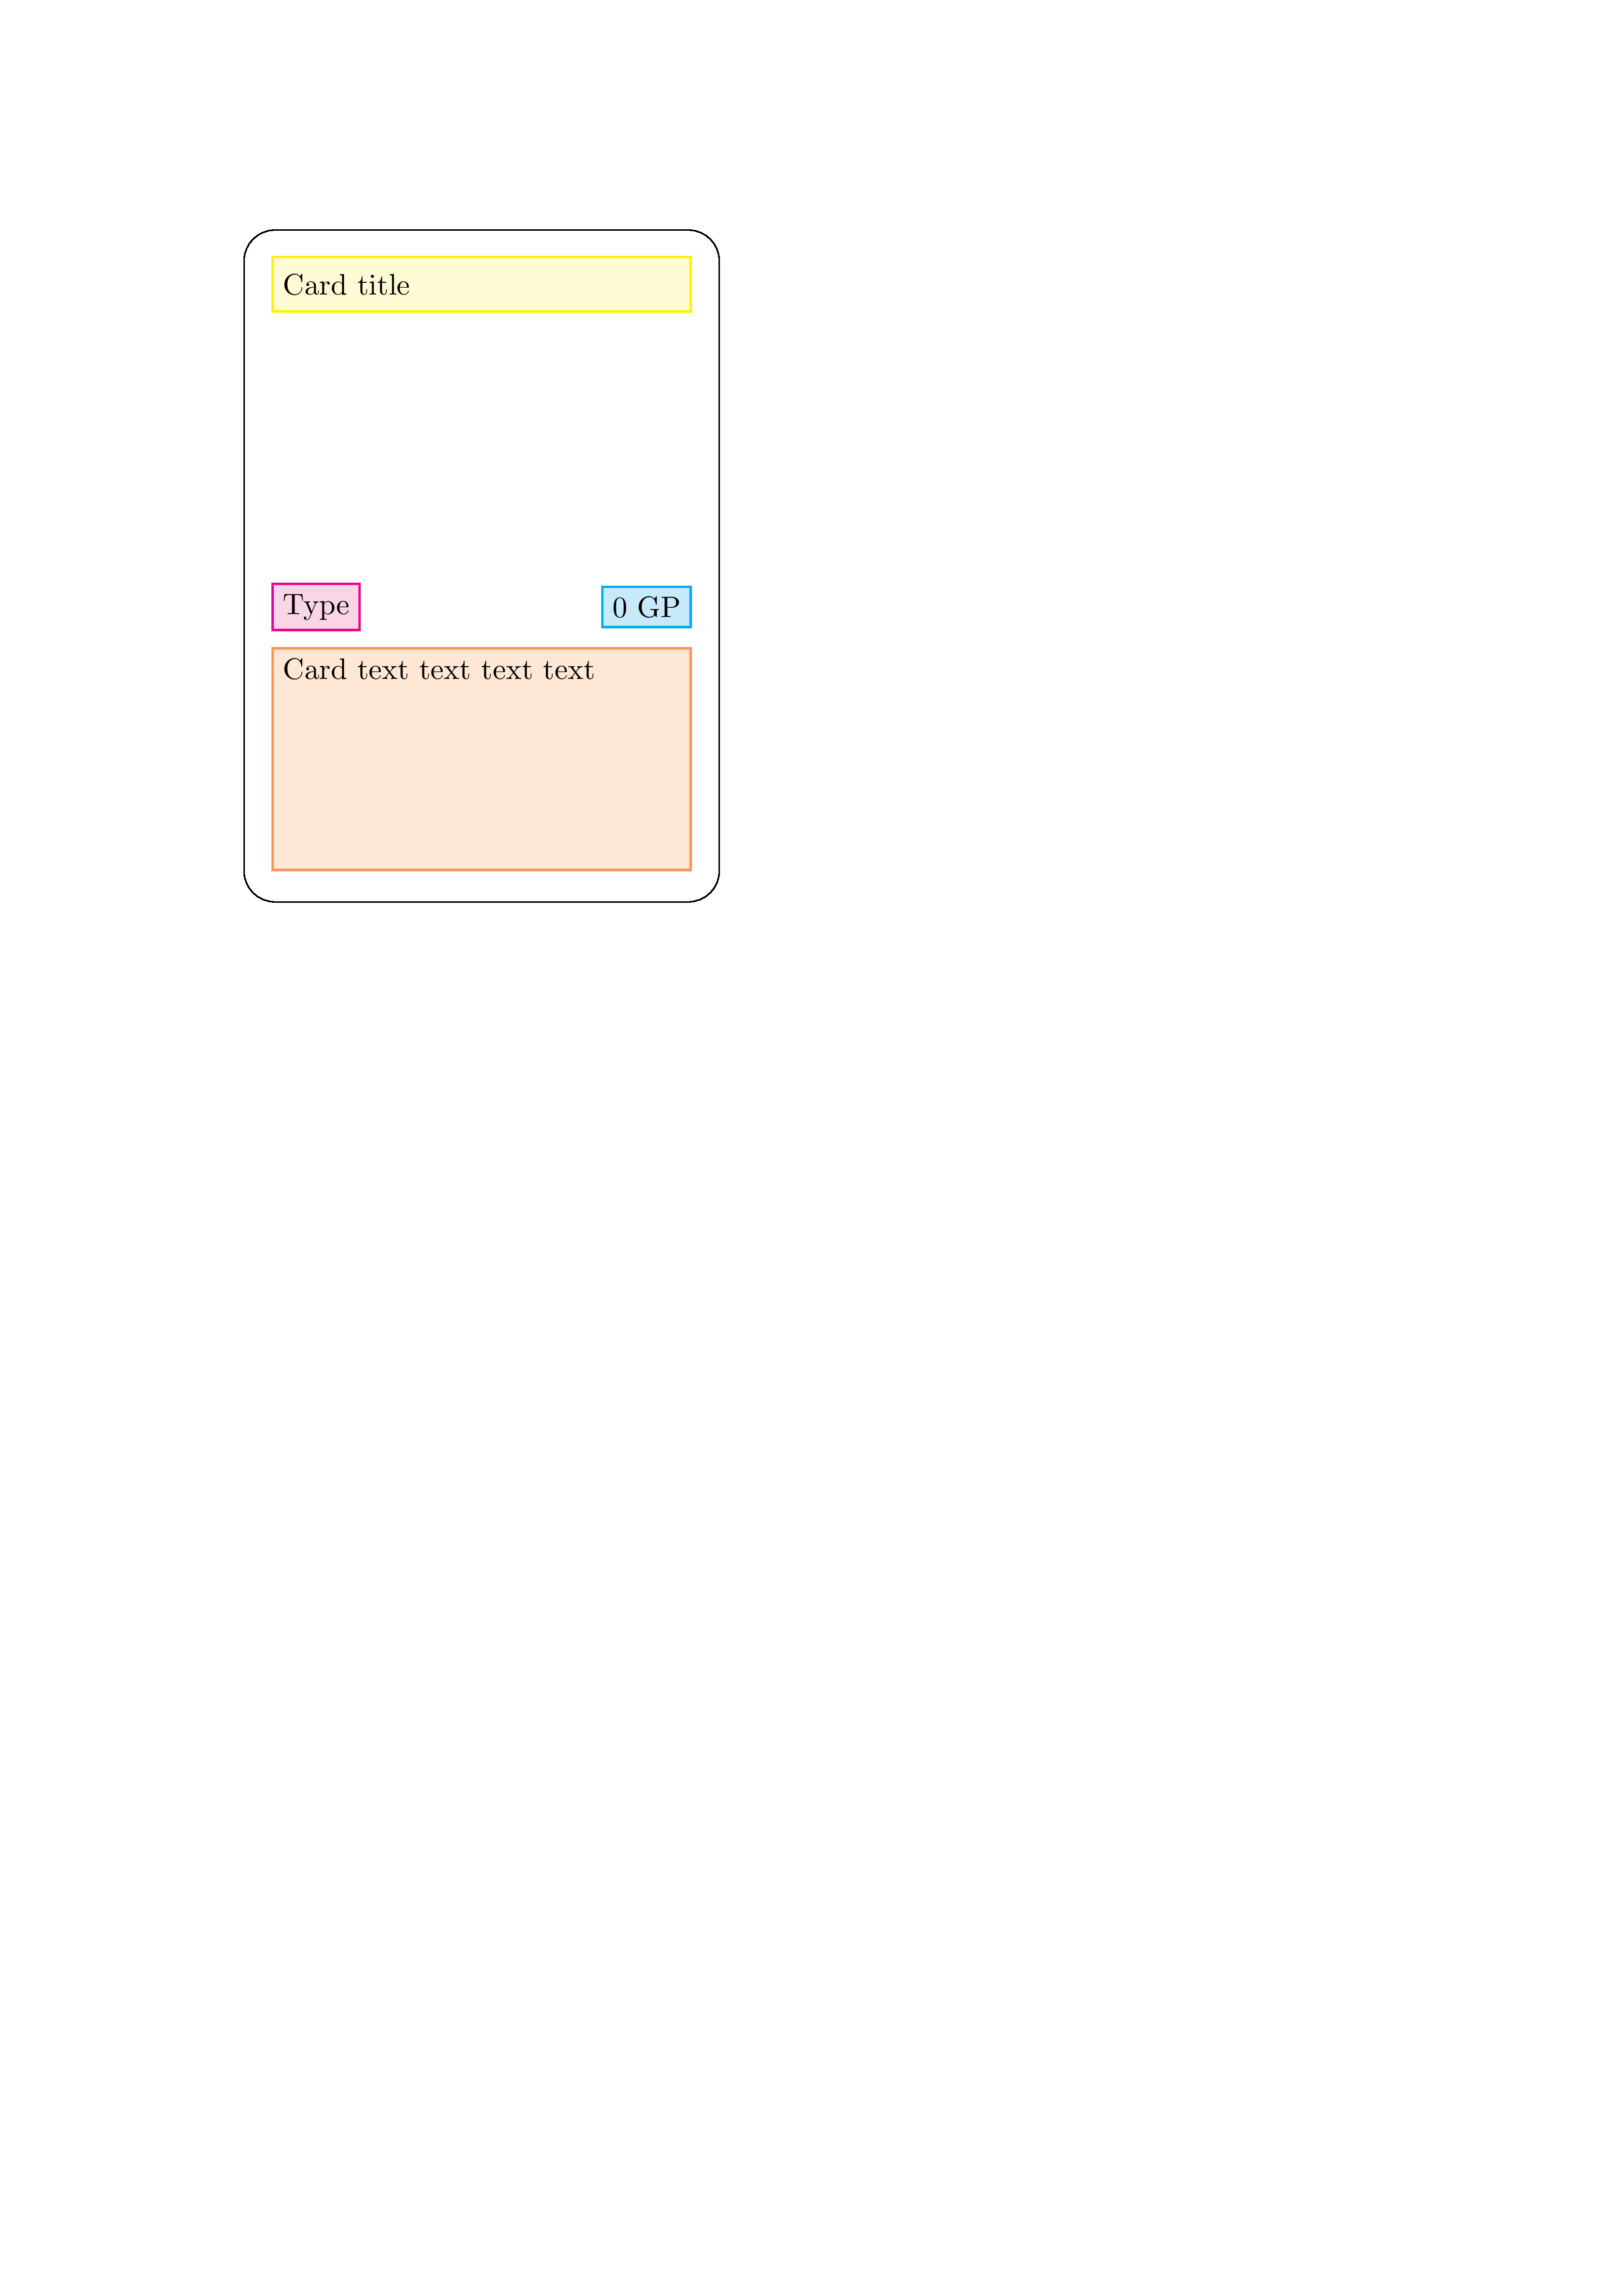
Here’s our final product:
Next time
We’ve made our first card design! We could just copy-paste this code and then fill out the details and create a bunch of cards. We’ll work a bit smarter.
Next time we’ll make this a bit more programmatic and easy-to-use. We’ll also learn how to make card sheets and export each card as it’s own high-resolution PNG file so you can upload it to your publishing site.